Pre-Capturing
First step to get star trails is to somehow enable your phone to take continuous shots. Not all phones have the feature to take shots continuously at certain intervals. There are many apps to overcome this but I used AstroCam and ProCam X Lite (this one started causing trouble after some time, it stopped taking continuous shots). One can download either of these. If you prefer minimal complexity in settings then AstroCam would be good as you’ve to just set the number of shots, interval, ISO and shutter speed. ProCam X Lite can be troubling at times but it has an upper hand by supporting RAW image (RAW images are preferred but for beginners I’d suggest to begin with the normal images that your camera provides). Once you get a clear night sky, go to a high point (as much as you can) where there’s not much light pollution due to surrounding lights and it would be better if it’s a new moon as moonlight can also affect the images. Arrange a brick/book or anything to support your phone at different angles (most of the time a brick does the job). If you’ve a tripod, you’re lucky enough. Decide which part of the sky you want to capture. If you’re a novice you can take help of Stellarium to get a rough idea how the stars will move by adjusting the time in Stellarium.
Capturing
Lay the phone with support from the brick at an angle aiming towards the desired part of the sky and take a few trial shots to get an idea how the sky looks in the photo. You can try different ISO-shutter speed combinations (400/6s or 200/8s would do the job most of the time). Once you’ve got a decent picture, you can set the number of frames and the interval at which shots will be taken. It depends how long trails you want, more the length more the exposure time. You can get the exposure time by multiplying the number of frames and shutter speed (keeping the interval 0s as higher values might not give continuous trails). Once all of this is set, press the shutter, move away and let the phone do its work while you can enjoy the night sky. After taking the desired number of frames, you’ve to capture a few dark frames. Keep the ISO and shutter speed the same and take a few shots by covering your camera so that no light enters. These are your dark frames.
Post-Capturing
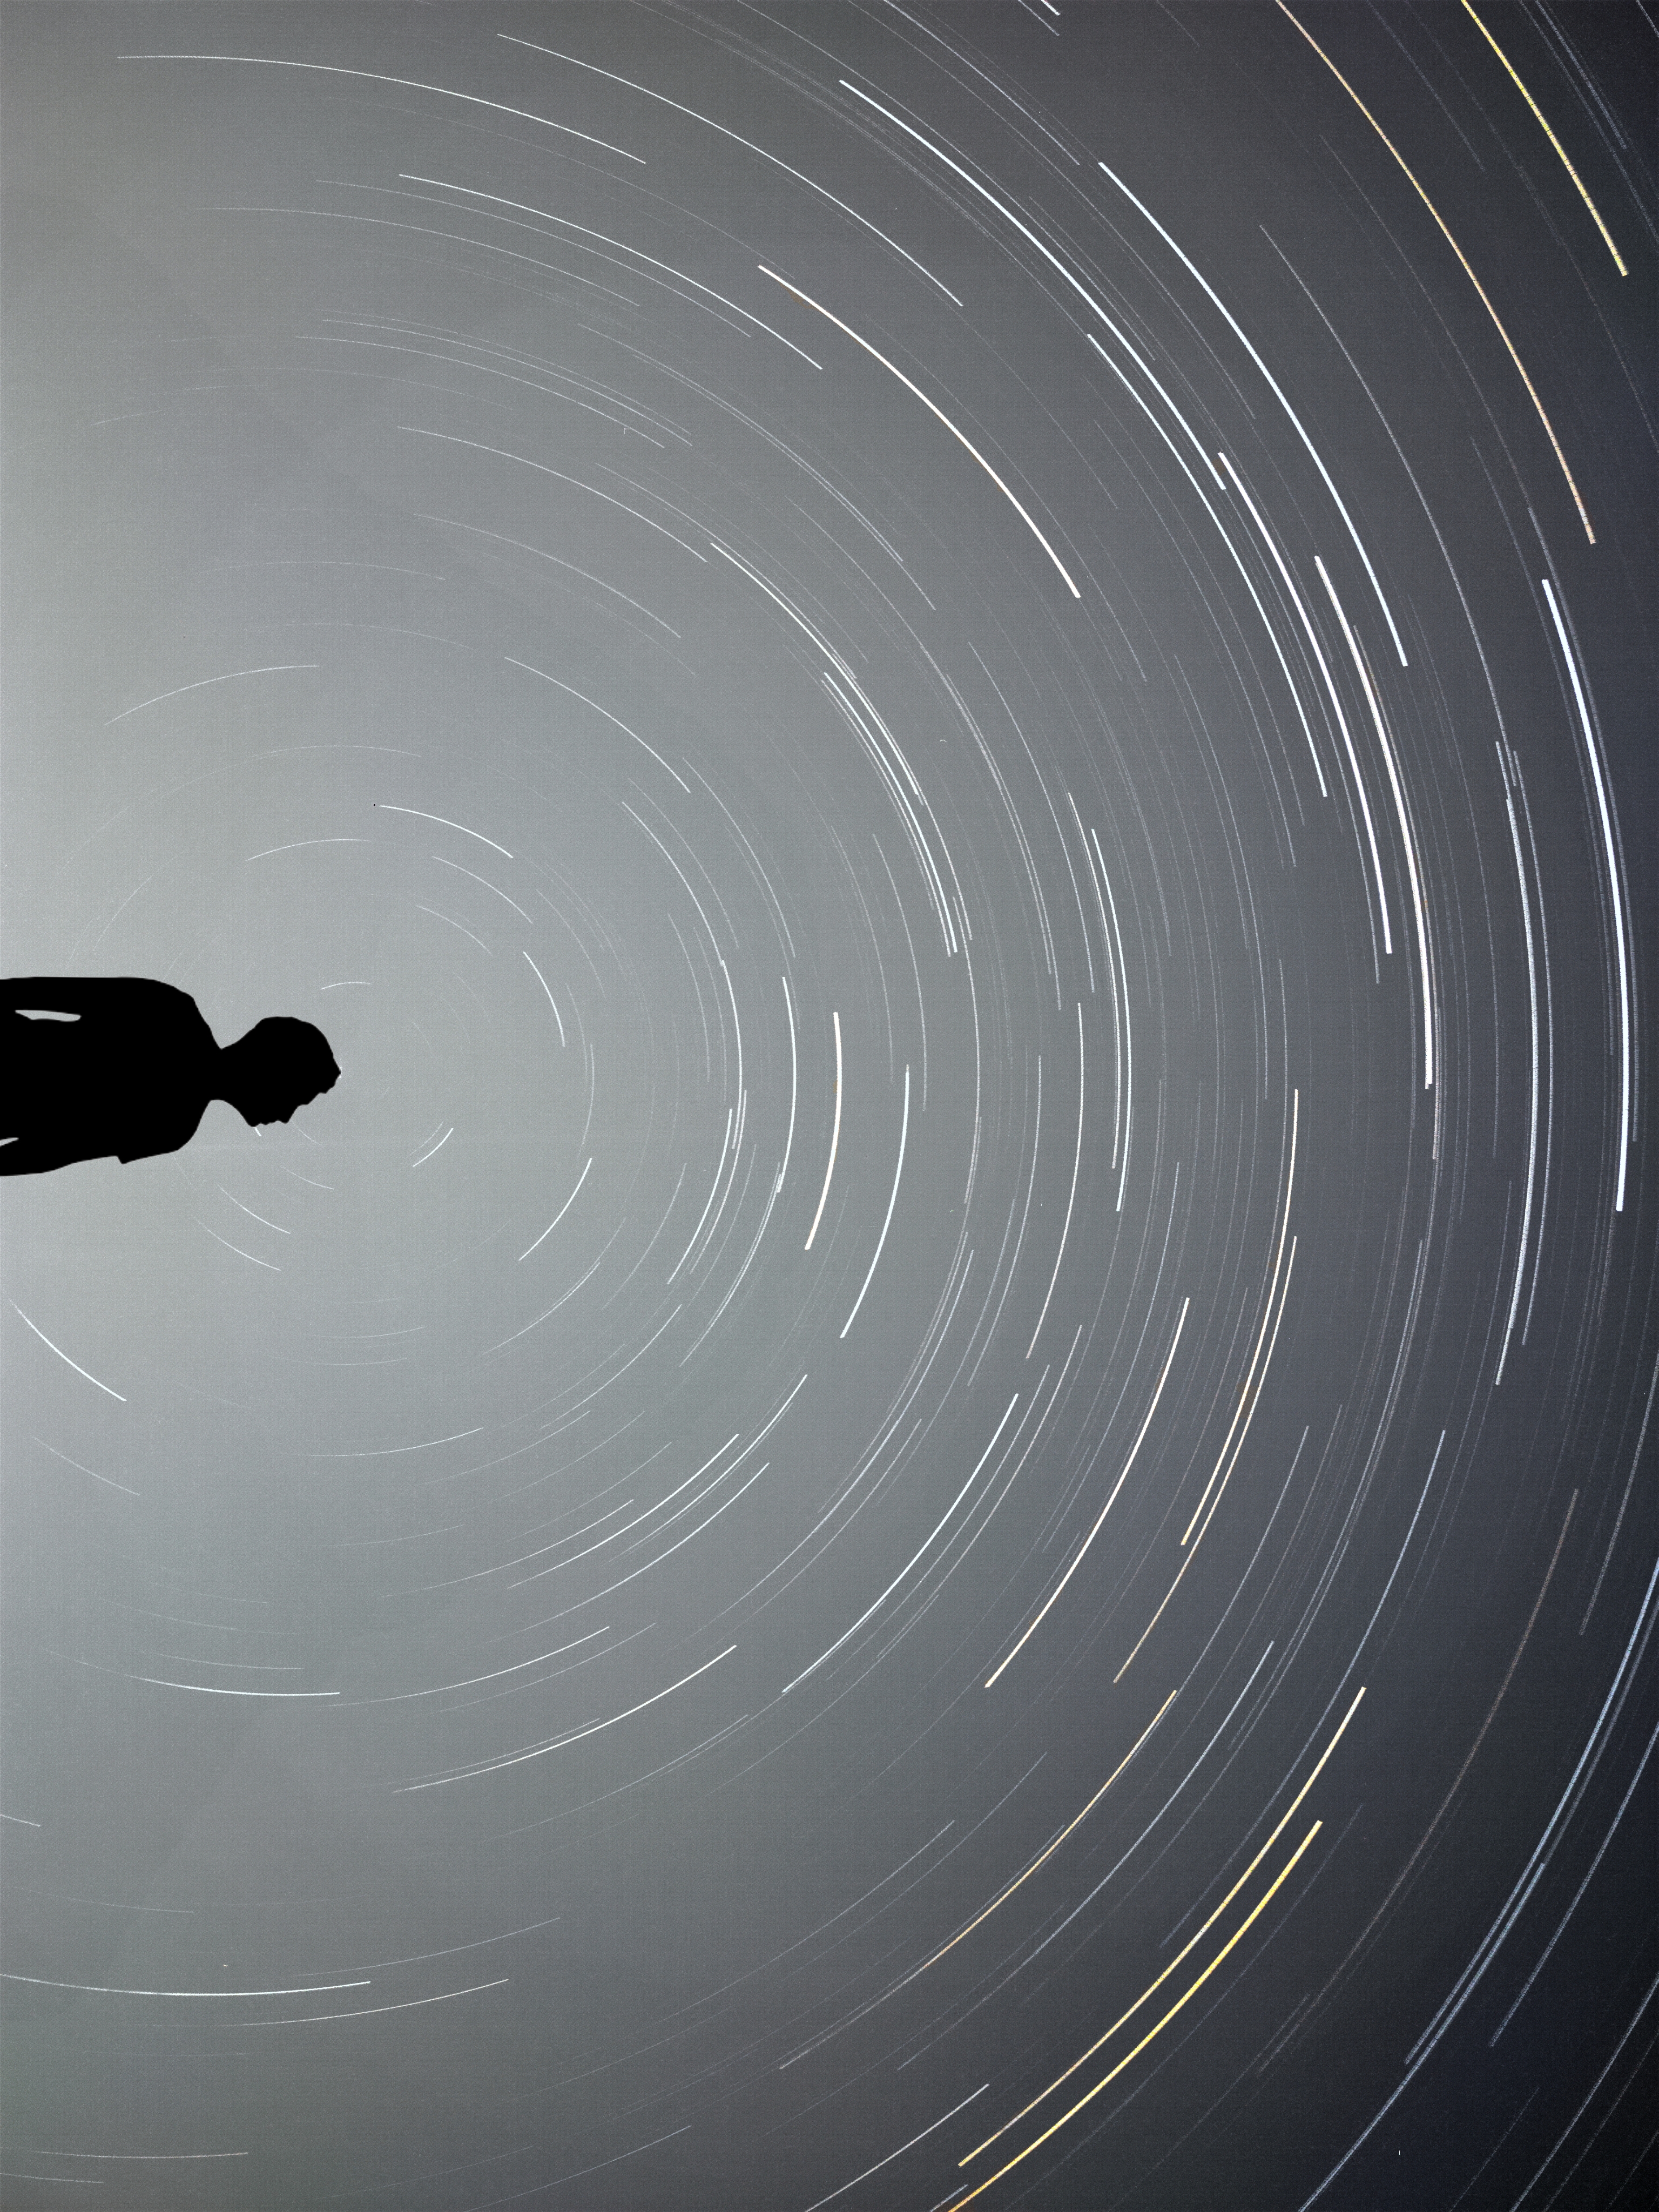
Now comes the step where you stack the photos together to get the trails. I downloaded StarStaX[1] on my laptop and used that for stacking the images. Open the app, click on the Light Frames icon on the top and select all the light frames that you’ve captured. Once loaded, click on the Dark Frames icon beside it to load the dark frames that you captured. On the right side you’ll find settings where different modes of stacking are given. You can play with them to get different results. After that, press the Stack icon near the Dark Frames icon. Wait for a while the photos are being stacked and at the end you’ll get your star trails. At first it might not look that much appealing. Edit the photo in some editor (I use Snapseed on phone and Affinity Photo[3] on laptop). If you are familiar with Photoshop or Lightroom you’re good to go. On Snapseed you can simply adjust brightness/contrast/saturation/shadows/highlights components of the image in the form of basic editing. Using Affinity Photo can require you to spend some time getting familiar with the interface. You can also take help of abundant youtube videos and articles on editing in Affinity Photo[2]. You can also add silhouettes to beautify your image. At the end you’ll have a star trails image taken just using your phone and not a costly DSLR. Keep on improvising and innovating.
Resources
- StarStaX
- If you are familiar with DSLRs and wish to learn Affinity Photo, go through this.
- You can get a 90 days free trial of Affinity Photo.
- Access the pdf for this post here.
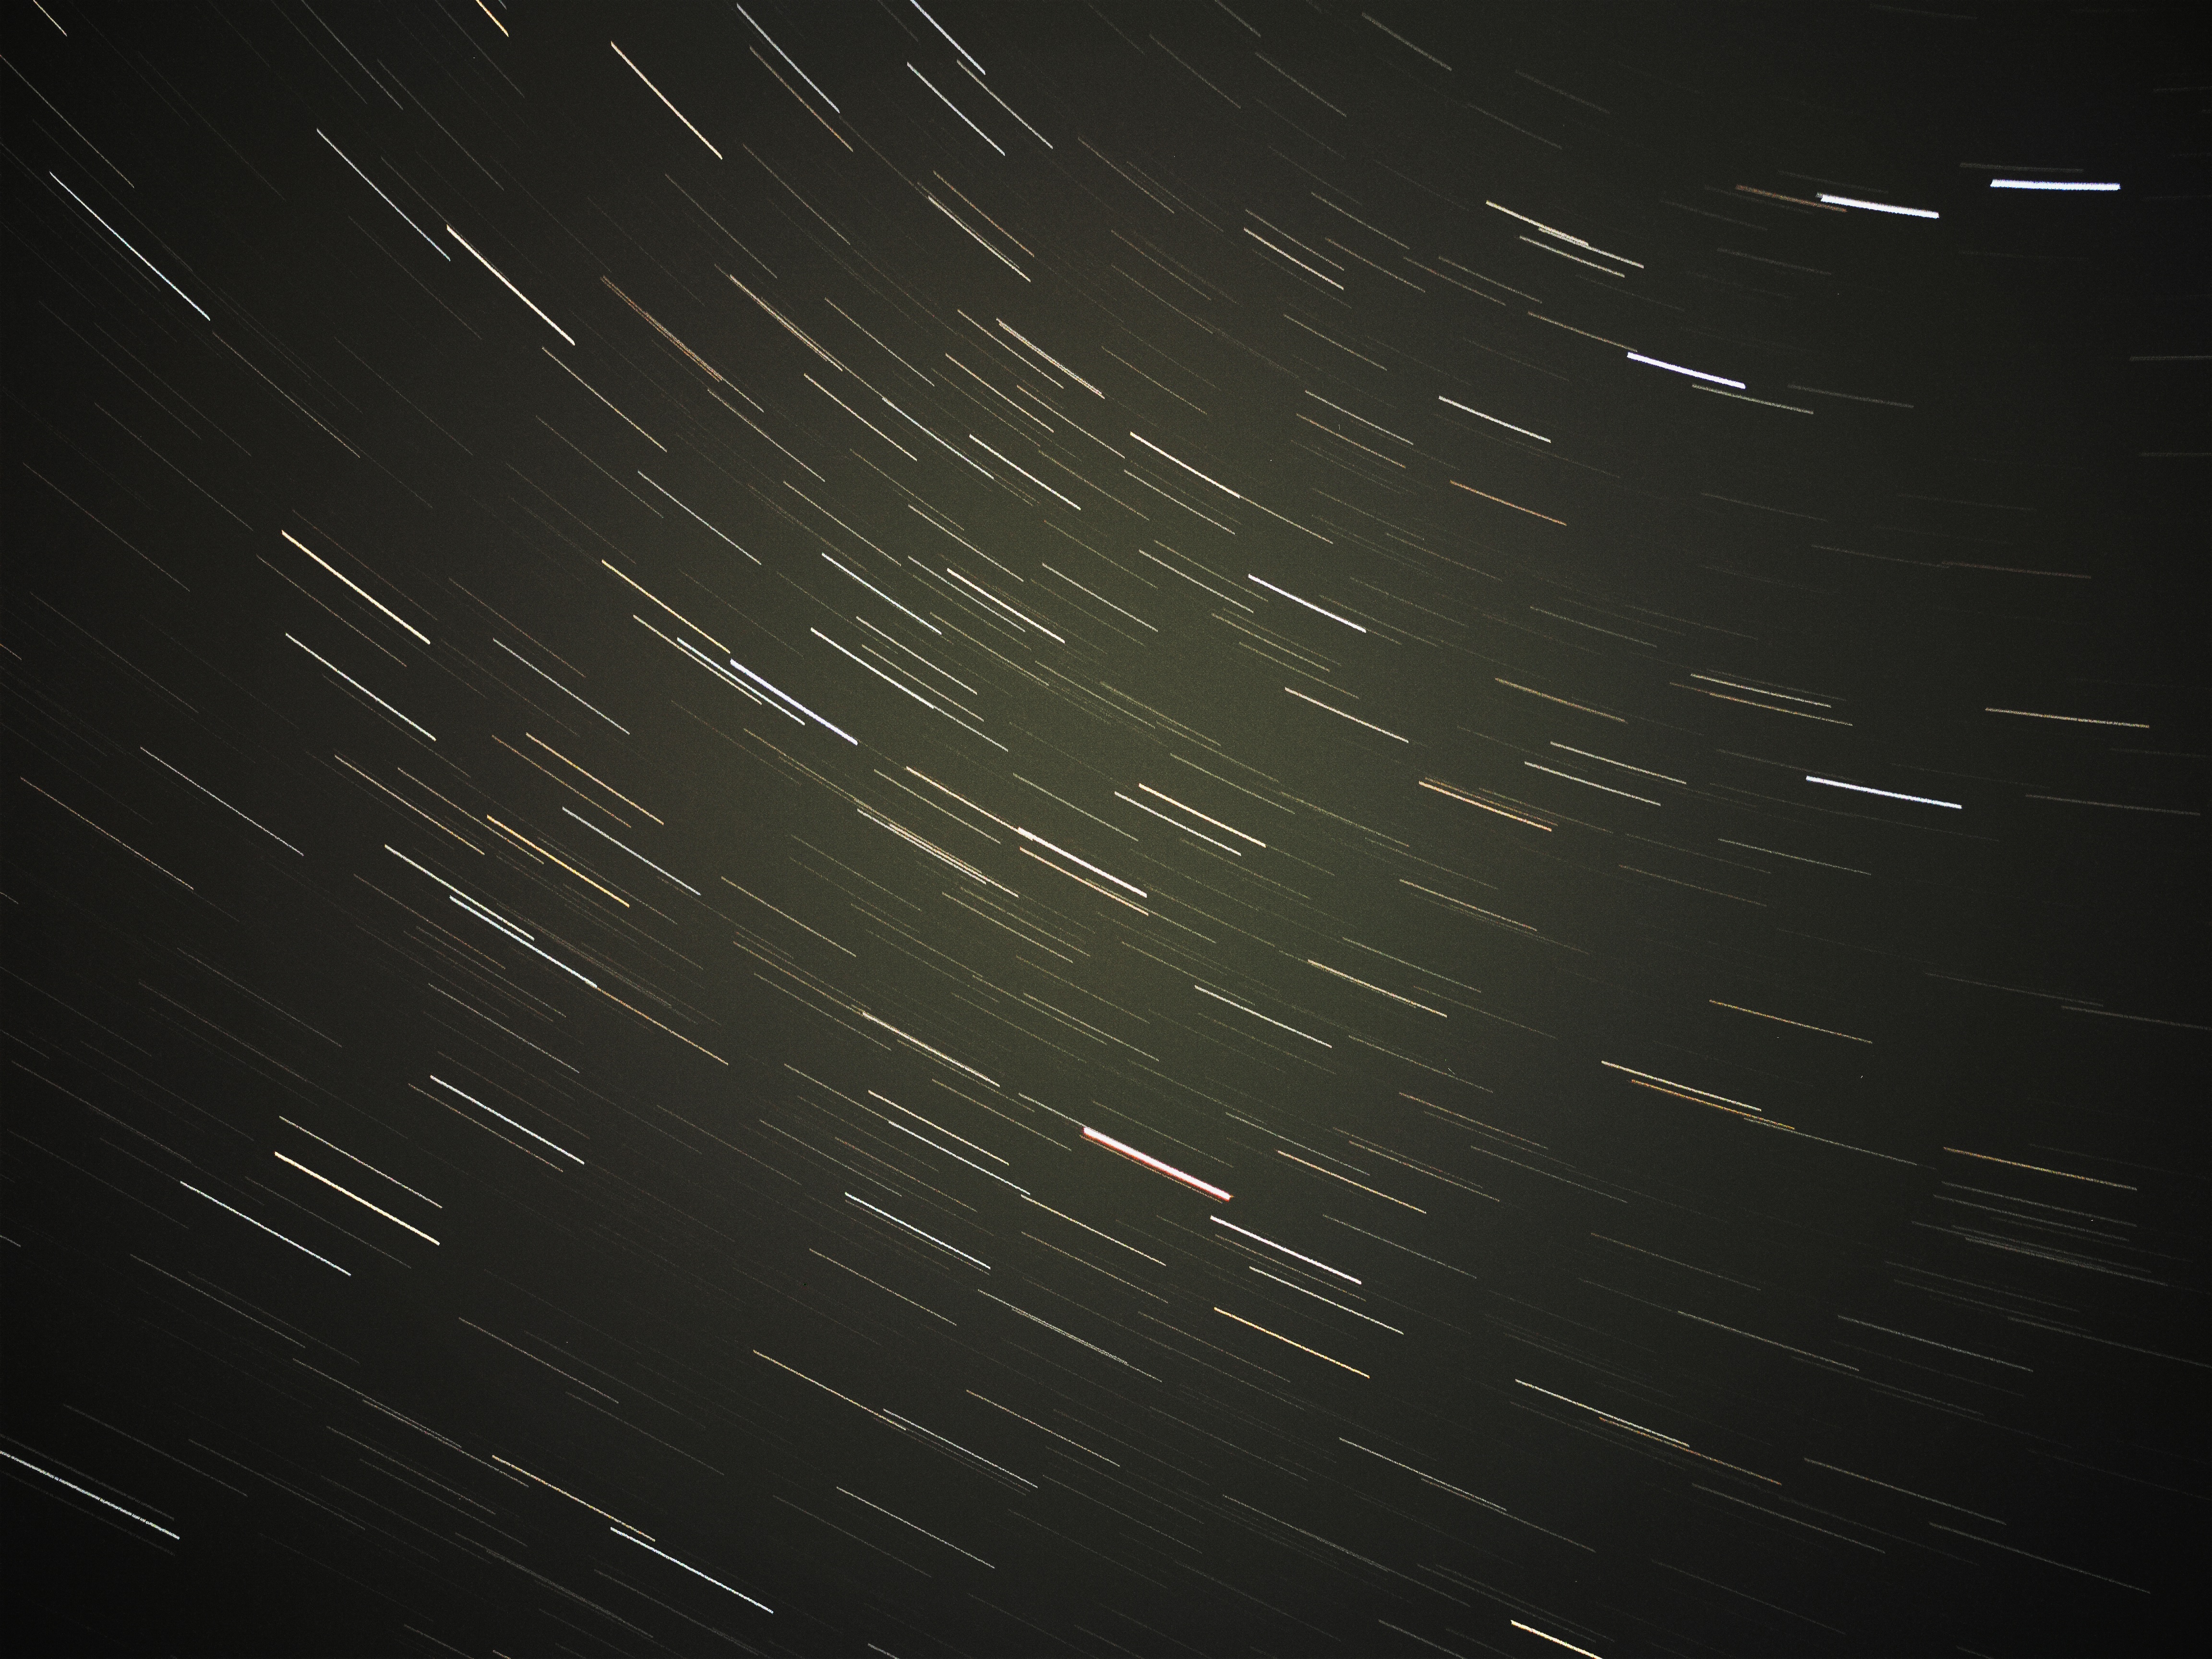
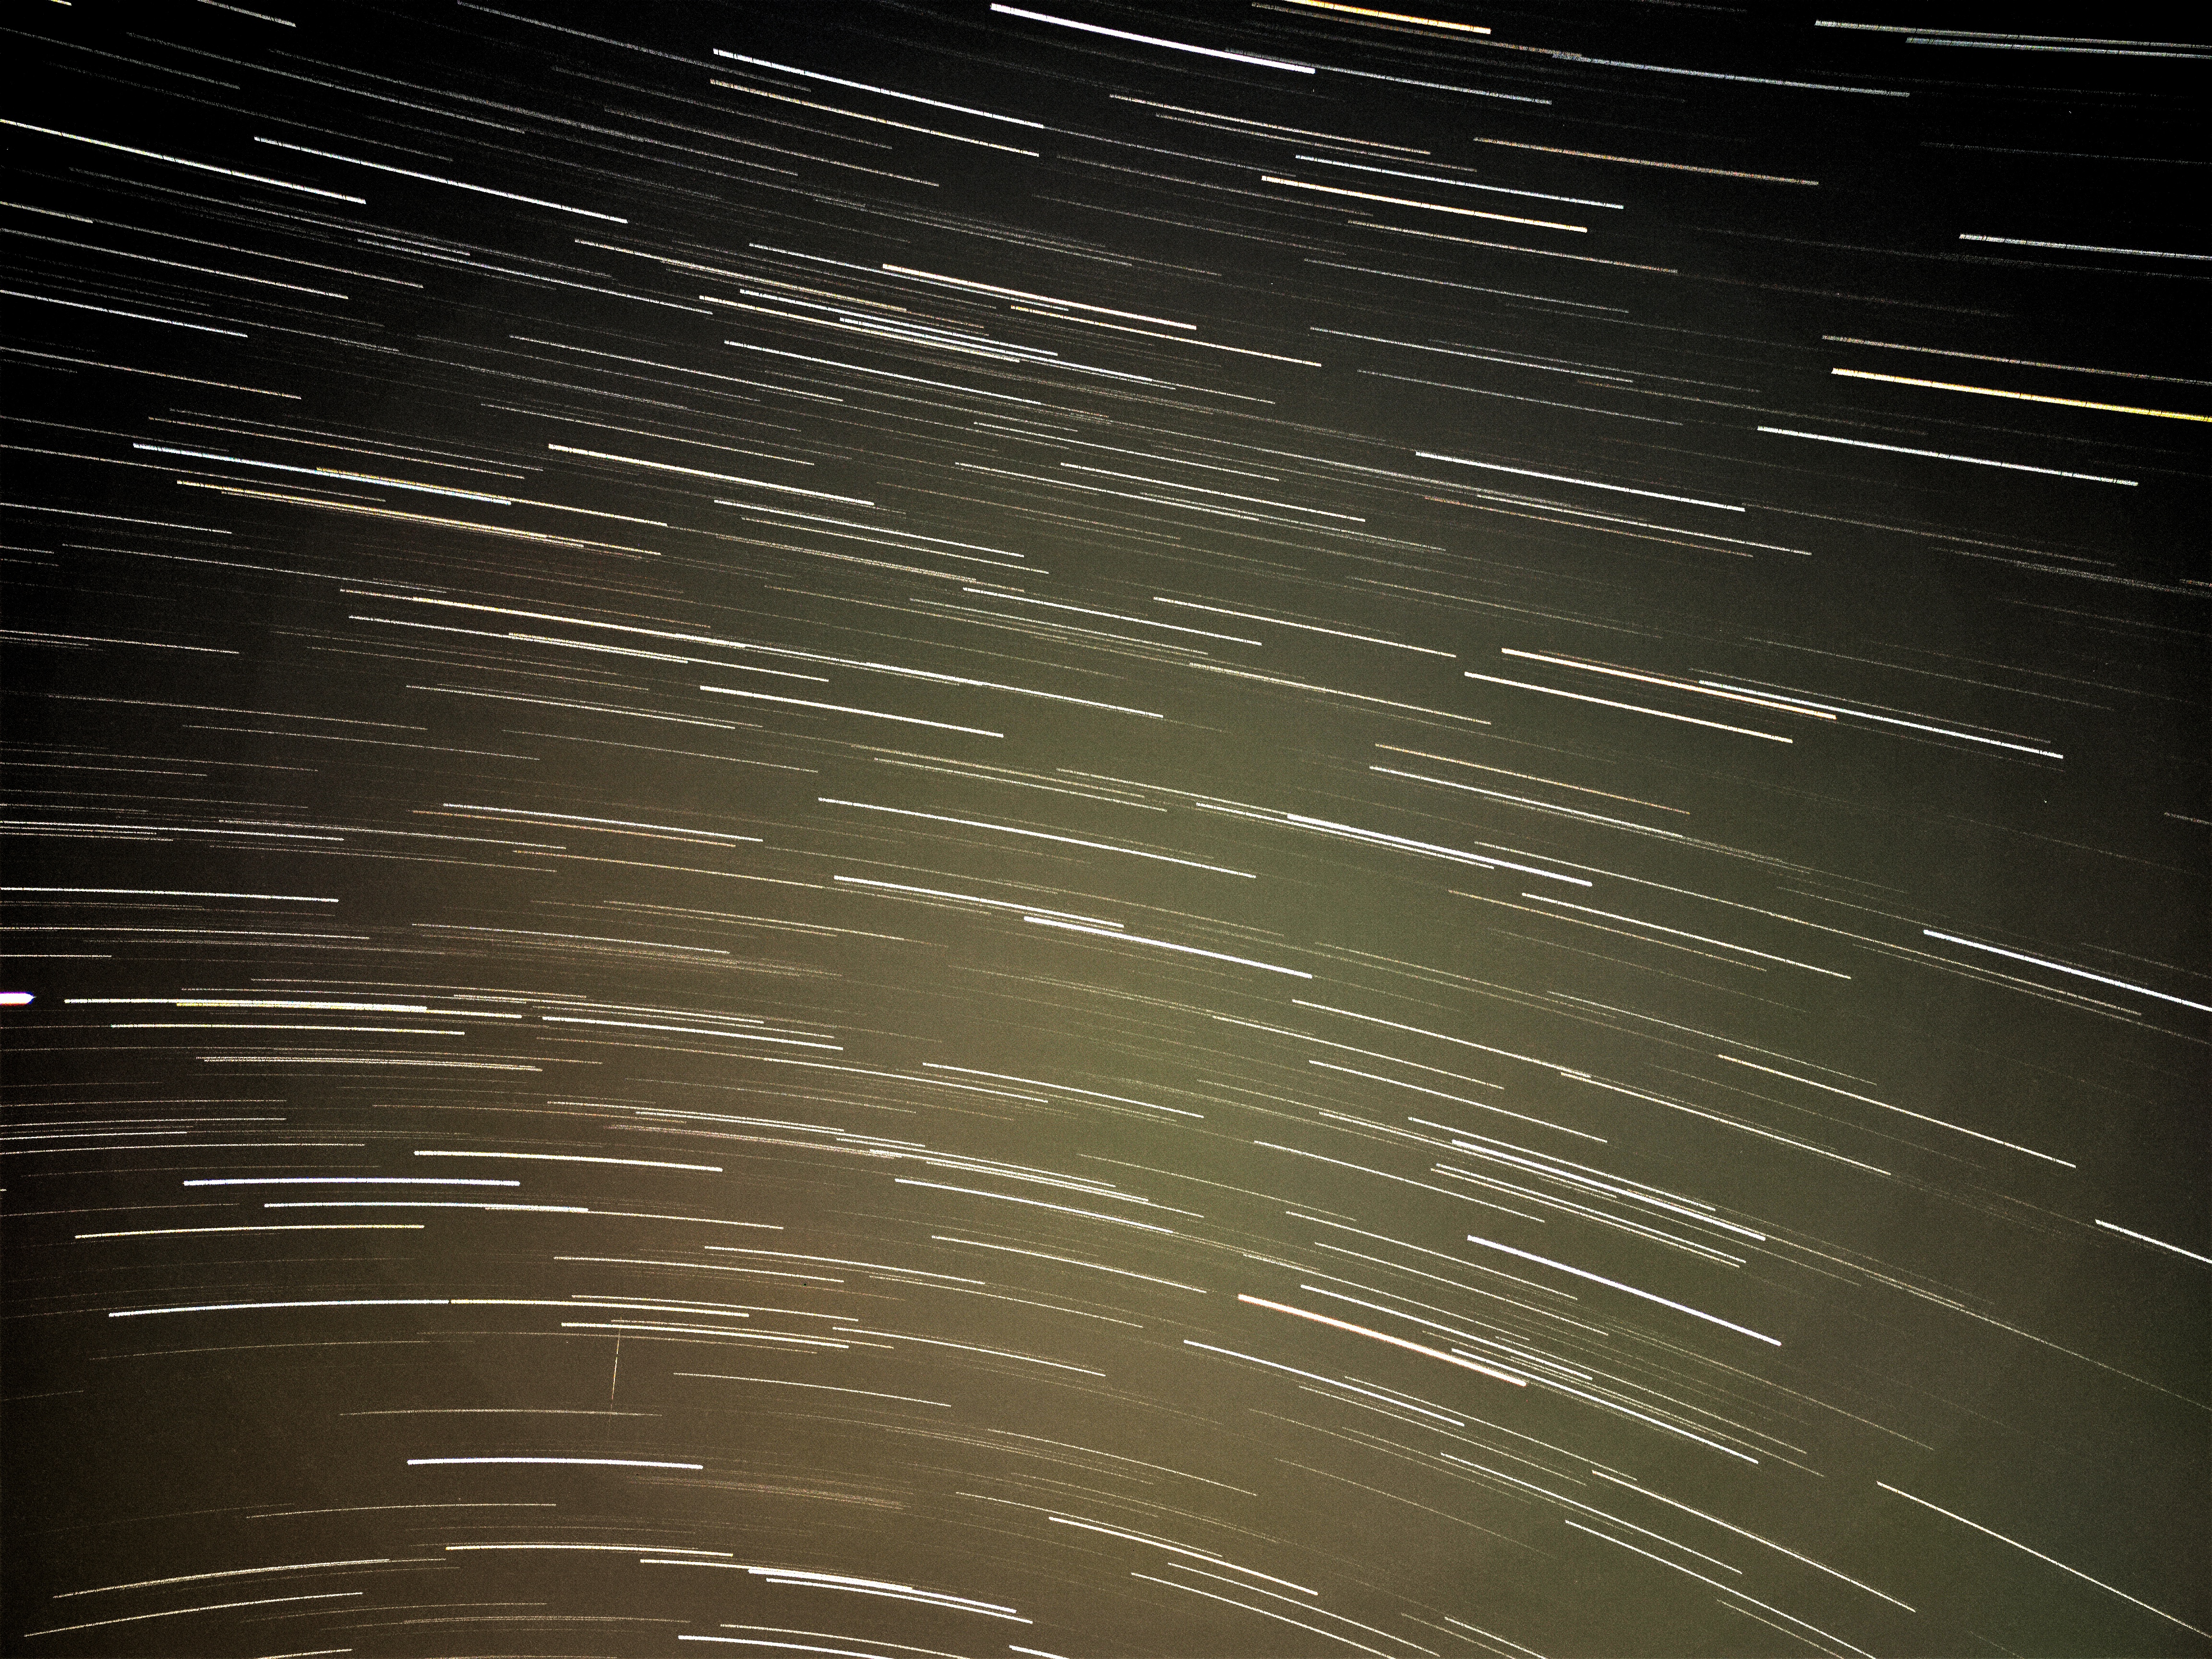
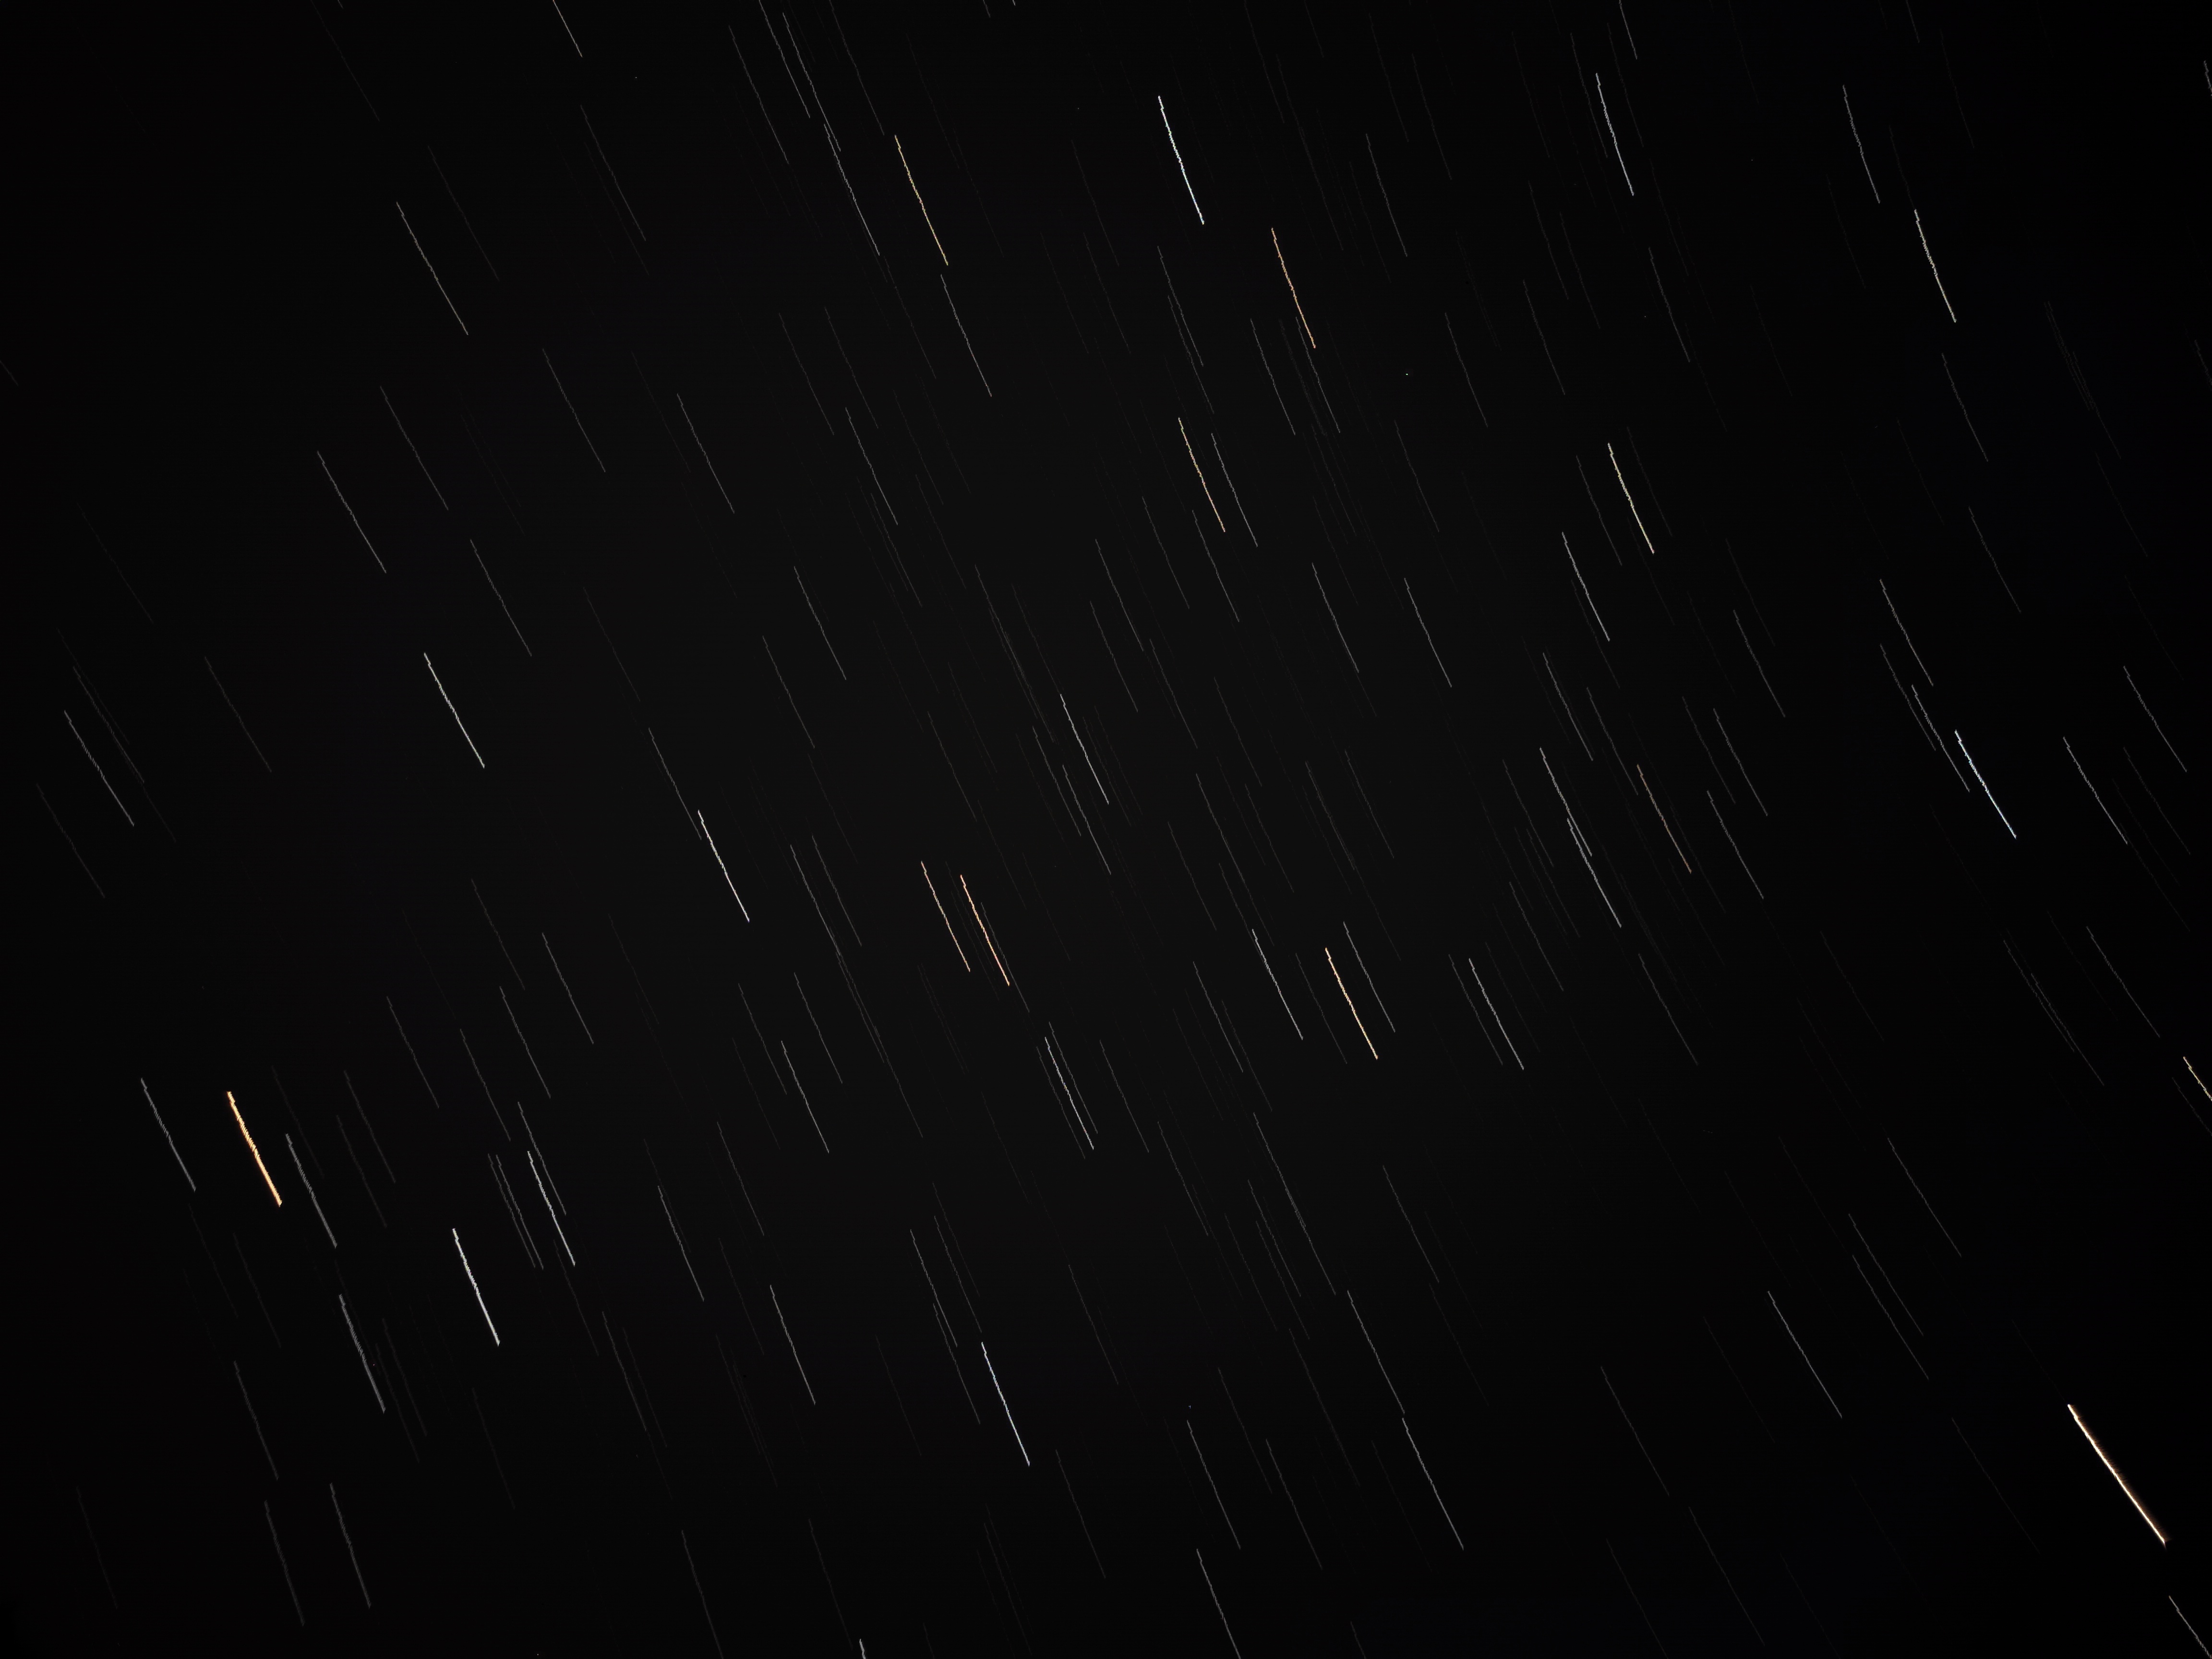
Examples